
The Difference in Making Sourdough Bread with Fresh Milled Flour: Tips for Success

There’s something magical about the process of making sourdough bread—the way it rises, the tangy aroma, and of course, the delicious flavor. When you use freshly milled flour instead of store-bought flour, the bread you make is even more special. Fresh milled flour offers a rich, nutty flavor and higher nutritional value, but it also requires a bit of a learning curve. If you’re used to making sourdough with store-bought flour, you’ll notice a few differences when you switch to freshly milled flour. But don’t worry! With a few adjustments and some patience, you’ll be able to make amazing sourdough bread using freshly milled flour.
Here’s what you need to know about the differences and how to get the best results with fresh milled flour.
Why Fresh Milled Flour Changes the Game for Sourdough
Freshly milled flour differs significantly from store-bought flour in a few key ways:
Higher Nutrient Content – Freshly milled flour retains all the beneficial nutrients found in the bran and germ of the wheat, making it richer in fiber, vitamins, and minerals than store-bought flour, which is often stripped of these nutrients.
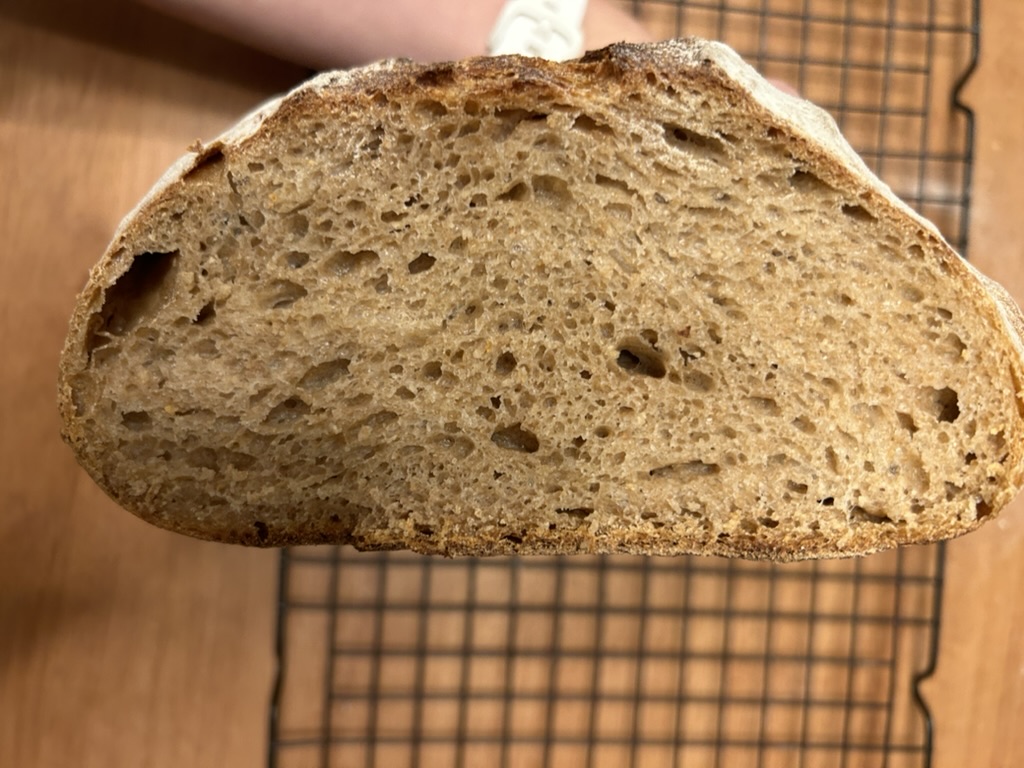
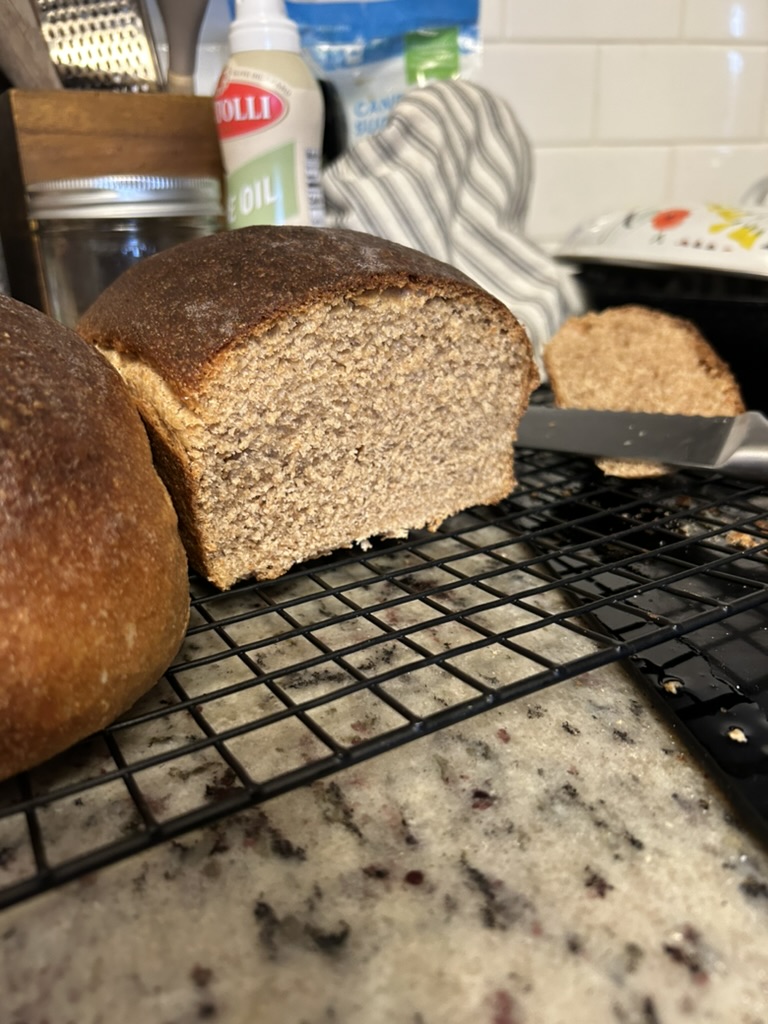
Coarser Texture – Freshly milled flour tends to have a coarser grind compared to the finely ground flour you’ll find in the store. This can result in a denser crumb and a slightly different texture in your bread.
Increased Hydration – Fresh flour tends to absorb water more efficiently, meaning you may need to adjust the hydration levels in your dough.
Adjusting Your Sourdough Recipe for Fresh Milled Flour
Because of the differences in texture, hydration, and nutritional content, fresh milled flour behaves a bit differently than store-bought flour when baking sourdough. Here are some tips to ensure you get the best results:
1. Adjust Your Hydration
Freshly milled flour tends to absorb more water than store-bought flour, so you may need to add more water to your dough. Start with your usual recipe and gradually increase the water until the dough is smooth and slightly sticky but still holds its shape. The exact amount will vary depending on the type of flour you’re using and how finely it’s milled, but as a general rule, you may need an extra 10-15% more water than what the recipe calls for.
2. Use a Longer Autolyse (Resting Period)
An autolyse is a period of time when you mix the flour and water and let them rest before adding the salt and starter. This step allows the flour to fully absorb the water, improving gluten development and resulting in a better dough structure. Freshly milled flour benefits greatly from a longer autolyse, so aim for about 30-60 minutes to give the flour time to hydrate fully.
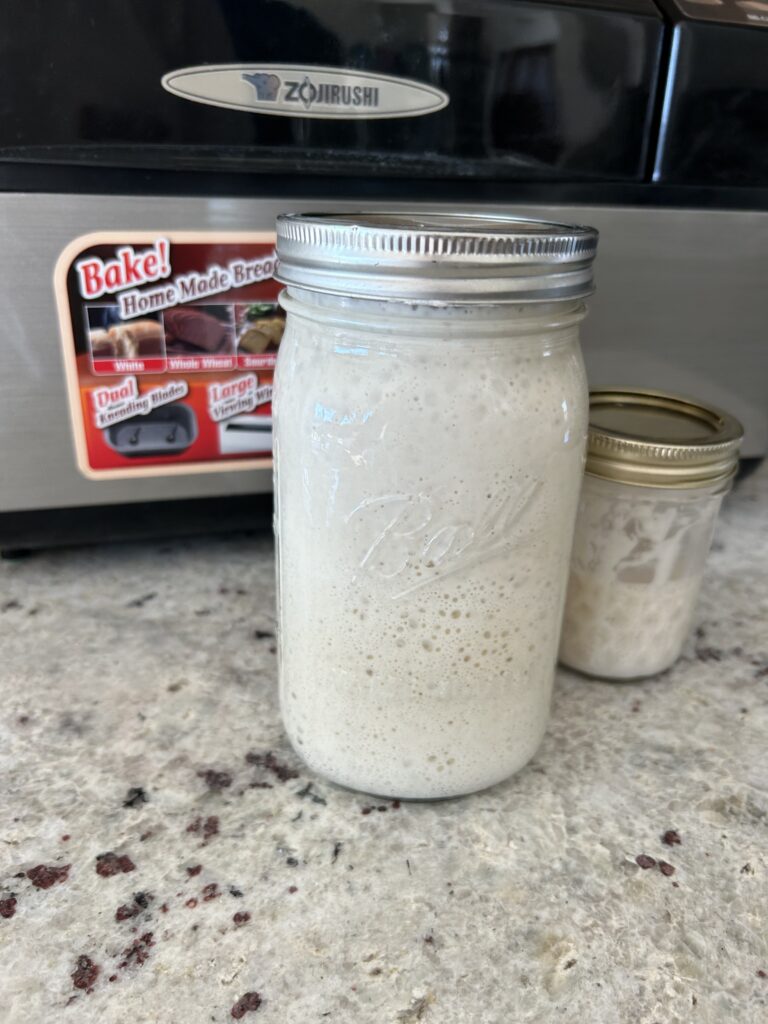
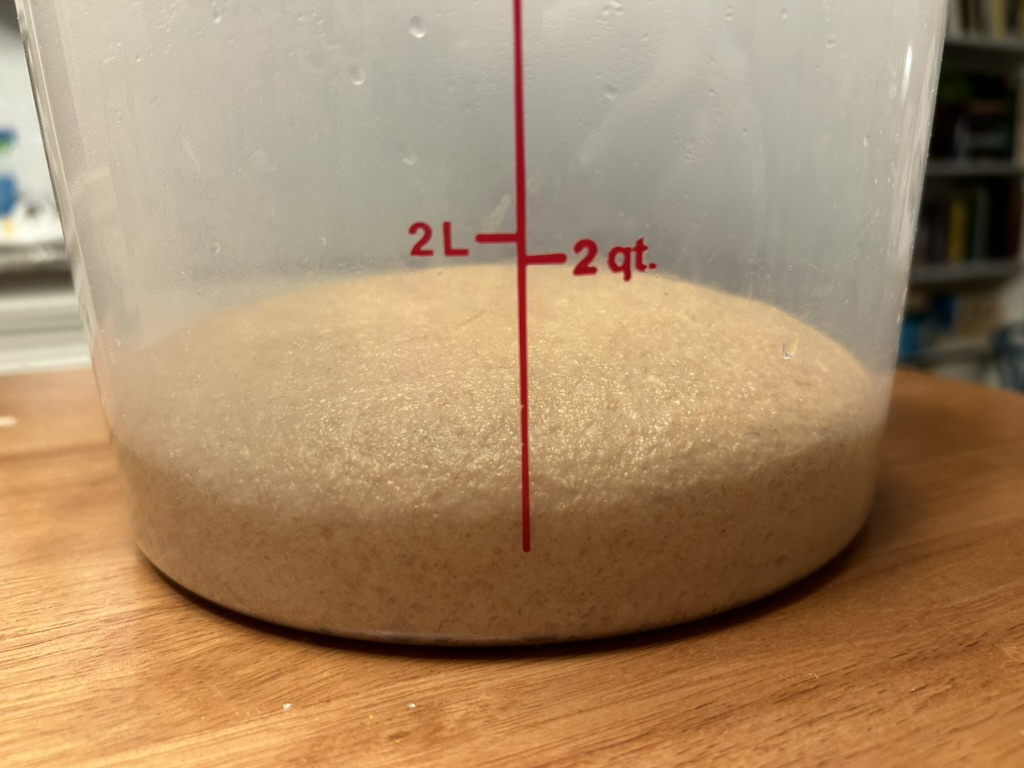
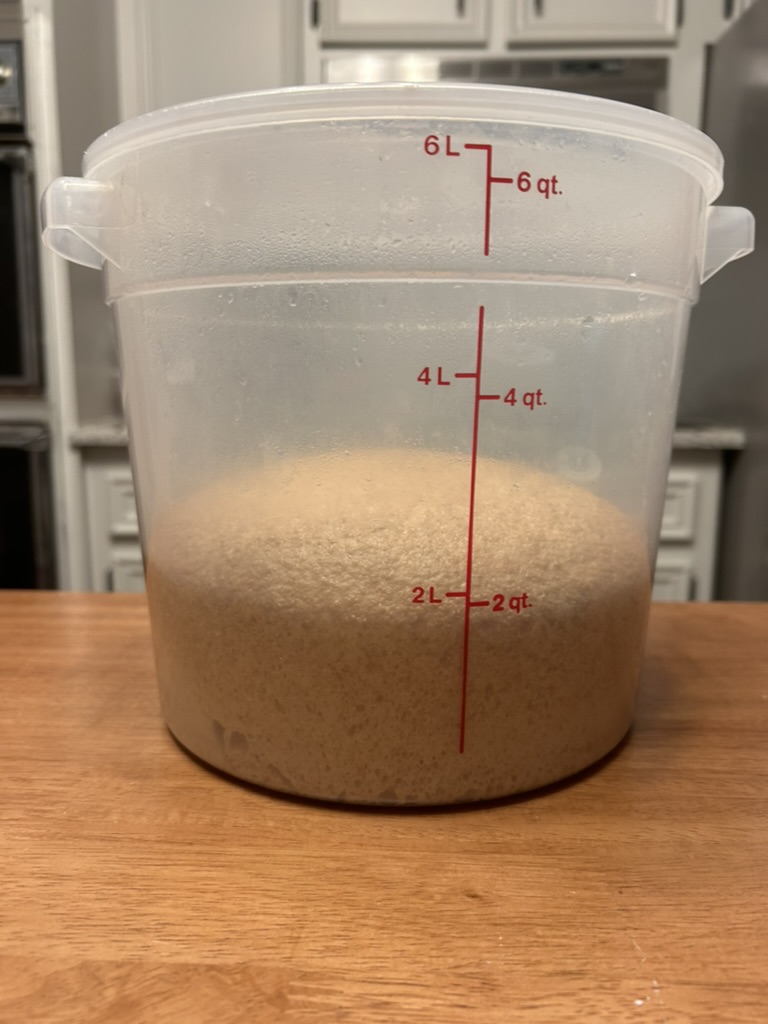
3. Be Patient with Your Starter
Freshly milled flour has a higher nutrient content, which can make your sourdough starter more active than when you use store-bought flour. However, it can also make your starter more sluggish if it’s not properly maintained. If you’re using a starter that was originally fed with store-bought flour, you might need to refresh it with fresh milled flour for a few feedings to get it to adjust. Also, don’t forget to keep your starter fed and healthy, as a strong starter is essential for a good rise.
4. Adjust Your Kneading Time
Because fresh milled flour has more bran, it can make the dough a bit more abrasive and cause it to feel rougher. This can affect gluten development, so you may need to knead the dough longer than you would with store-bought flour. Aim for about 10-12 minutes of kneading by hand or a few more minutes if you’re using a stand mixer.
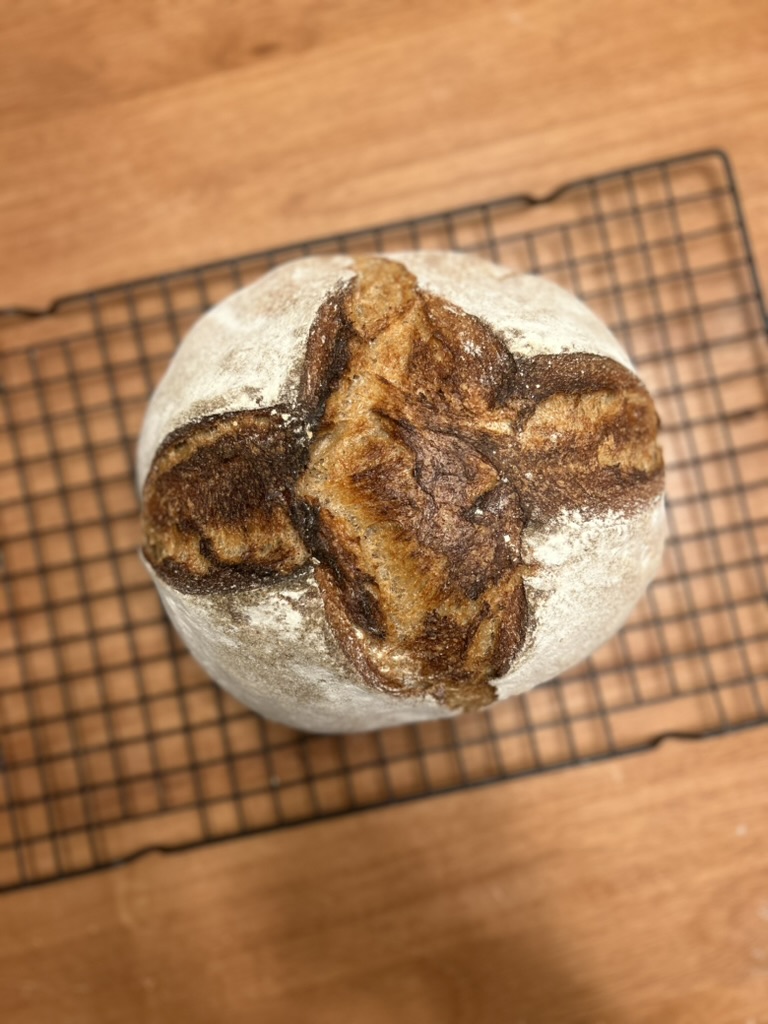
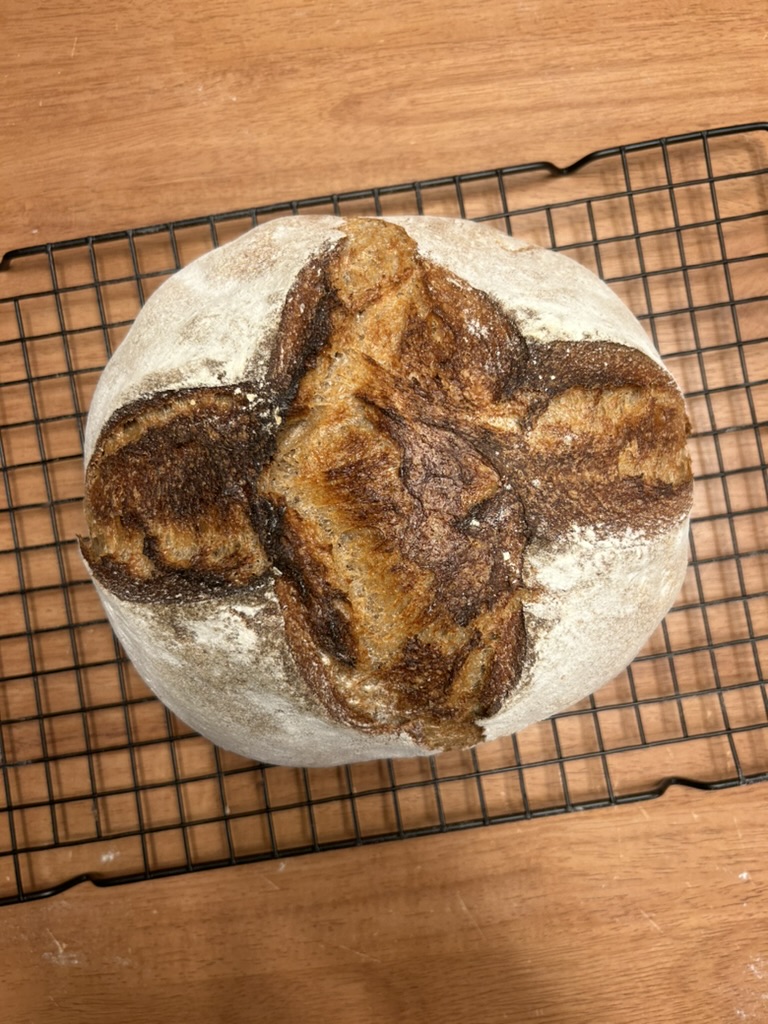
5. Expect a Denser Texture
Due to the coarser texture of freshly milled flour, your sourdough bread may come out a bit denser compared to bread made with store-bought flour. This isn’t a bad thing—it’s just part of the charm of using fresh flour! If you want a lighter loaf, try using a mix of whole wheat and white flour to lighten the crumb, or use a higher-protein flour to boost gluten development.

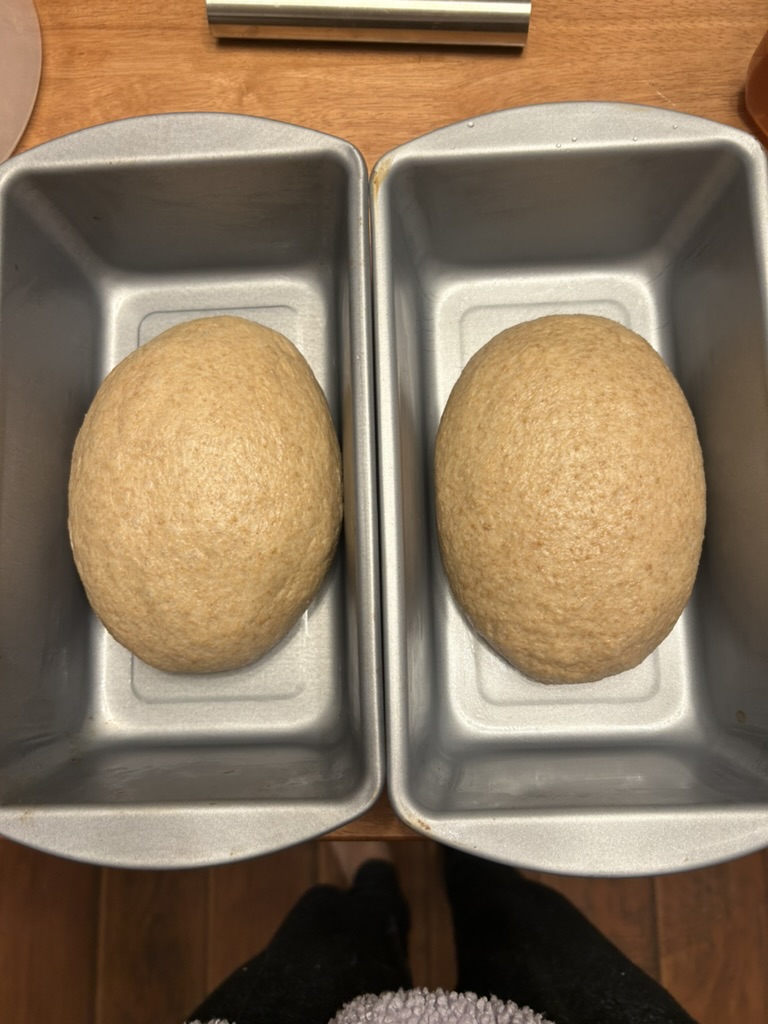
6. Proofing and Baking
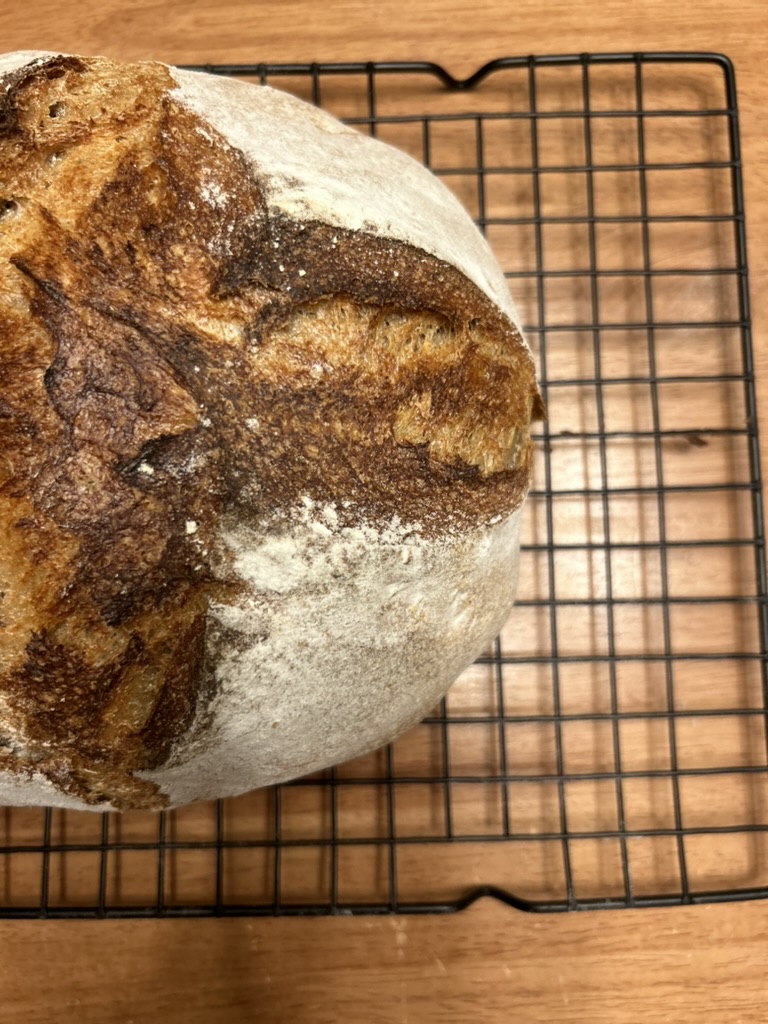
Fresh milled flour may take a bit longer to proof because the increased fiber content can slow down fermentation. Don’t rush the proofing process—allow the dough the time it needs to rise and develop flavor. You might need to extend your bulk fermentation by 1-2 hours, depending on the conditions in your kitchen. When it comes to baking, the loaves may take a few extra minutes in the oven, so be sure to watch for that golden, crispy crust!
Enjoying the Results
The most rewarding part of baking sourdough with freshly milled flour is the incredible flavor and nutrition it provides. The tangy, complex flavors of your homemade sourdough bread will be more pronounced, and you’ll enjoy knowing that the bread you’re serving your family is packed with wholesome goodness from freshly milled grains.
Final Thoughts
Making sourdough with fresh milled flour is a bit different than using store-bought flour, but with a few adjustments and some patience, you’ll soon be baking the most delicious, nutritious, and flavorful sourdough bread ever! The key is to embrace the differences and work with the unique properties of freshly milled flour.
Ready to start milling your own flour?
If you’re looking for a reliable grain mill, I highly recommend the NutriMill Grain Mill (affiliate link), which is perfect for home bakers who want to start milling their own flour for bread, pizza, pancakes, and more. The NutriMill makes it easy to grind your own fresh flour with minimal effort, giving you the freedom to bake with whole, unprocessed grains and make the most nutritious sourdough bread possible!
Let me know how your sourdough bread turns out in the comments, and feel free to share any tips or tricks you’ve learned along the way!
#SourdoughBread #FreshMilledFlour #HomeBaking #NutriMill #HealthyLiving #HomemadeBread
